
You most likely know how to deploy applications from ConfigMgr. Usually, you would package all the source files in a single folder to build our deployment. But when it comes to configuring and deploying Microsoft 365 Apps (previously known as Office 365 Pro Plus), there are multiple ways of doing it:
- Downloading the source files and host them on a UNC path.
- Package them and deploy them from Microsoft Endpoint Manager Configuration Manager.
- Use the built-in Office 365 deployment feature of Microsoft Endpoint Manager Configuration Manager.
- Use Microsoft Endpoint Manager Intune.
Now that a lot of your users are working from home, deploying applications from ConfigMgr via VPN is a big challenge for many system administrators! That is unless you have configured a Cloud Management Gateway and enabled a cloud distribution point or have MDM with Microsoft Intune.
The fully downloaded Microsoft 365 Apps installation source files contain about 3GB data, imaging how long it takes for your users to download this big package over a slow VPN network and the load it would put on the infrastructure.
If you are not using Microsoft Intune, or a CDP enabled CMG, there is another way you can choose to go called:
Office Content Delivery Network (CDN)
The concept here is to deploy only the setup.exe and configuration XML file, then let the endpoints download all the necessary content from the Office Content Delivery Network (CDN) via the user’s ISP. Of course, this will require split-tunneling VPN (i.e. Always On VPN, Direct Access, or any other third party solutions that support split-tunneling). If you don’t have split-tunneling VPN, you will need to ask users to disconnect their VPN when they see the Office installation starts, otherwise, this “no content” package won’t help reduce VPN network load.
Before you start, please find time to read this post Office 365 client deployment: notes from the field. It will help you prepare for upgrading to Microsoft 365 Apps.
NOTE: At the end of this post, you will find a ready-made example on my GitHub account. However, I would suggest that you make your configuration.xml file with your desired settings.
Step 1: Download the Office Deployment Tool
Search for the “Office Deployment Tool” using your favorite search engine. Download and run the installer to extract the toolkit to a folder (i.e., C:\Temp\Office).
Step 2: Create a configuration file
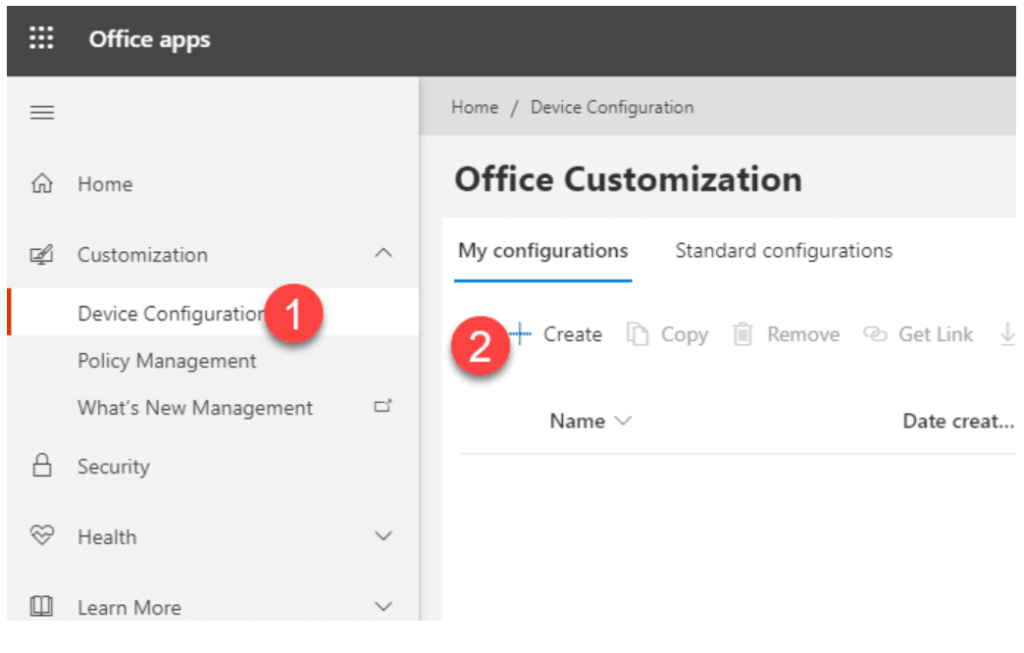
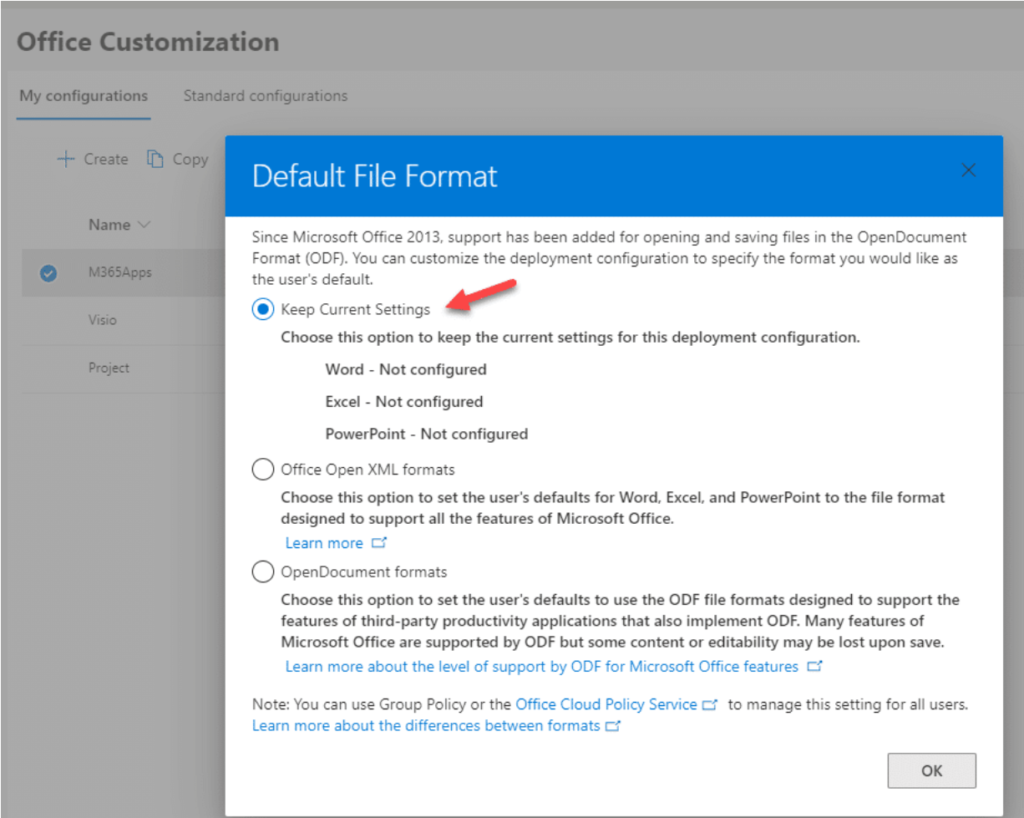
The easiest way is to use the Office 365 Client Configuration Service via https://config.office.com/ to configure the desired settings.
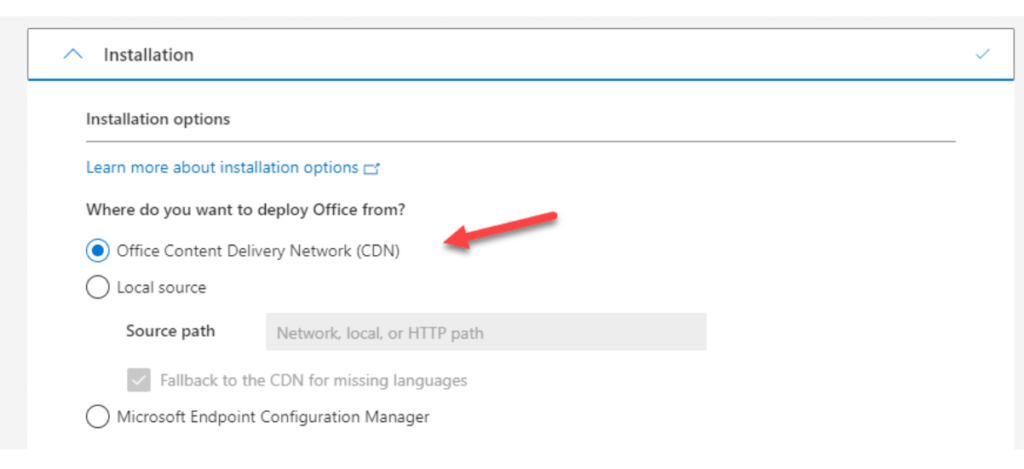
Remember to choose the installation option called “Office Content Delivery Network (CDN)”. I also recommend using the “Monthly Enterprise Channel” for enterprise customers.
Because Visio and Project need separated licenses, I would recommend deploying Visio or Project separately from other M365 Apps. Here I have configured three configuration policies for Microsoft 365 Apps, Visio and Project.
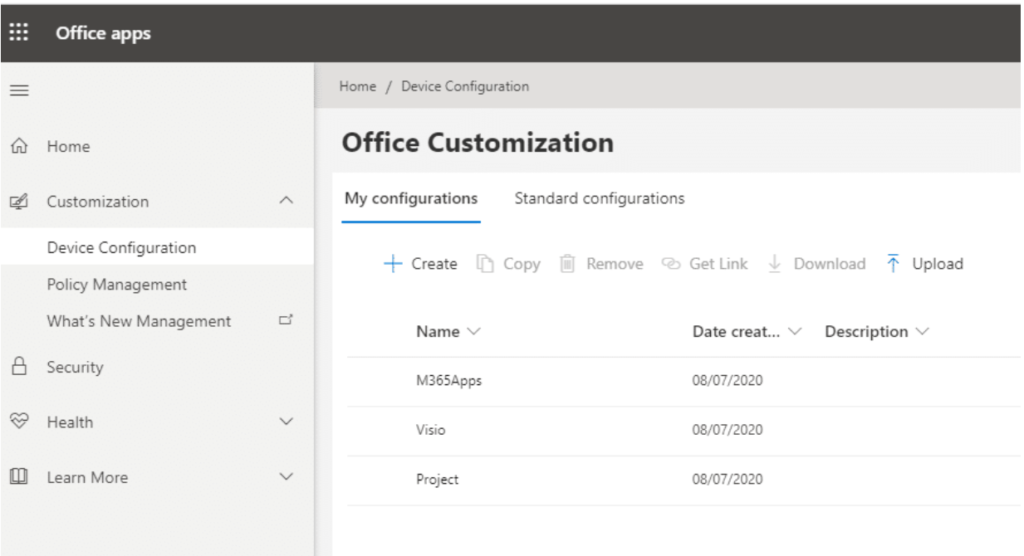
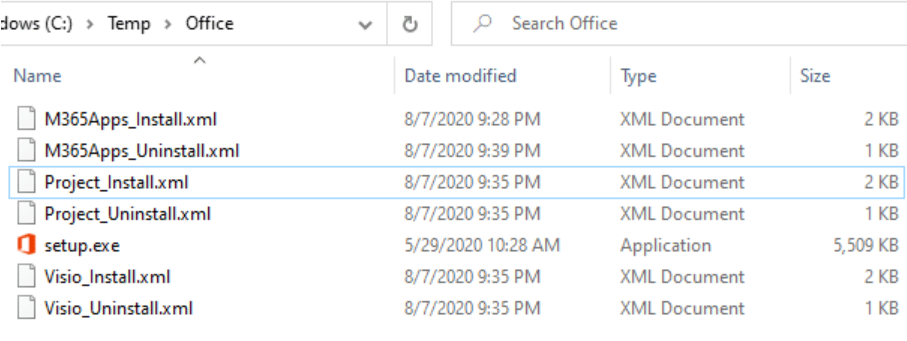
Download all three configurations and save them to C:\Temp\Office as “M365Apps_Install.xml”, “Visio_Install.xml”, and “Project_Install.xml”.
Optional: Create a separate configuration file for app removal. The example below is for the removal of the Microsoft 365 Apps.
<Configuration>
	<Remove>
		<Product ID="O365ProPlusRetail" >
			<Language ID="fi-FI" />
			<Language ID="en-us" />
		</Product>
	</Remove>
	<Display Level="None" />
	<Logging Name="O365ProPlusRetailSetup.txt" Path="%systemdrive%\Windows\CCM\Logs\Software" />
</Configuration>
You should now have all these files in: C:\Temp\Office :
Step 3: Repackaging using the PSAppDeployToolkit
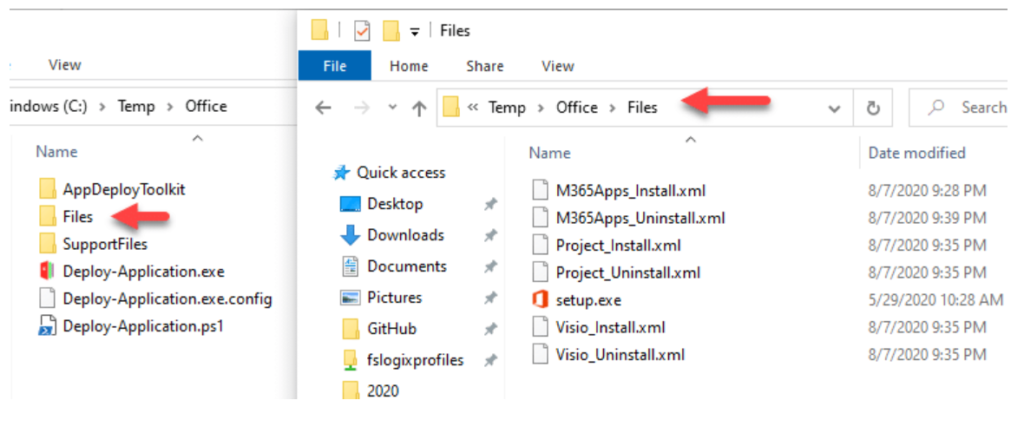
First, download the PSAppDeployToolkit from https://psappdeploytoolkit.com/, there are lots of great posts on how to use this tool, I won’t go into details here. Let’s copy all those files that you just created, and paste them to the PSAppDeployToolkit “Files” folder.
Optional advance configuration
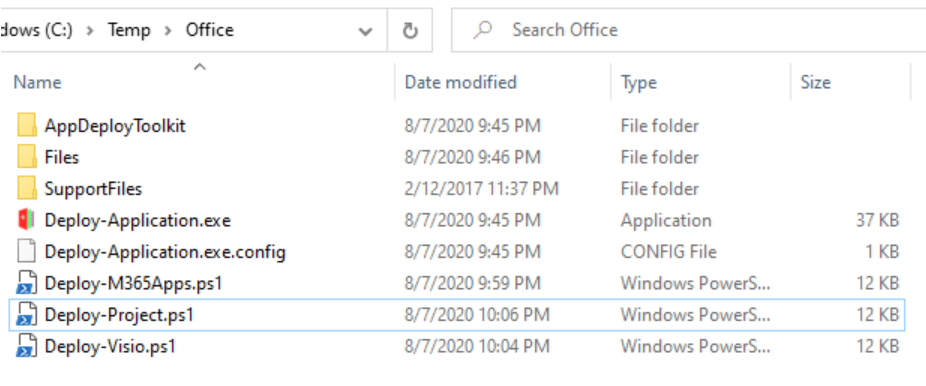
For each of the Microsoft 365 Apps along with Visio and Project, I created a separate Deploy-xxx.ps1 script file. When you deploy these apps from ConfigMgr, you can use the same content source, instead of three different ones. This concept also reduces the need for updating three different packages. Example Microsoft updates Office Deployment Tool every few months, you just need to update setup.exe to one single package instead of many. It might look something like the screenshot below (you will find these scripts at the end of this post)
Step 4: Deploy them from ConfigMgr
These are examples based on earlier mentioned “Optional advance configuration”.
During the creation of the Microsoft 365 Apps application package, I use the following install command line:
PowerShell.exe -ExecutionPolicy Bypass -NoLogo -NonInteractive -NoProfile -WindowStyle Hidden -File "Deploy-M365Apps.ps1" -DeploymentType Install
For Visio use this Install command line:
PowerShell.exe -ExecutionPolicy Bypass -NoLogo -NonInteractive -NoProfile -WindowStyle Hidden -File "Deploy-Visio.ps1" -DeploymentType Install
For Project use this Install command line:
PowerShell.exe -ExecutionPolicy Bypass -NoLogo -NonInteractive -NoProfile -WindowStyle Hidden -File "Deploy-Project.ps1" -DeploymentType Install
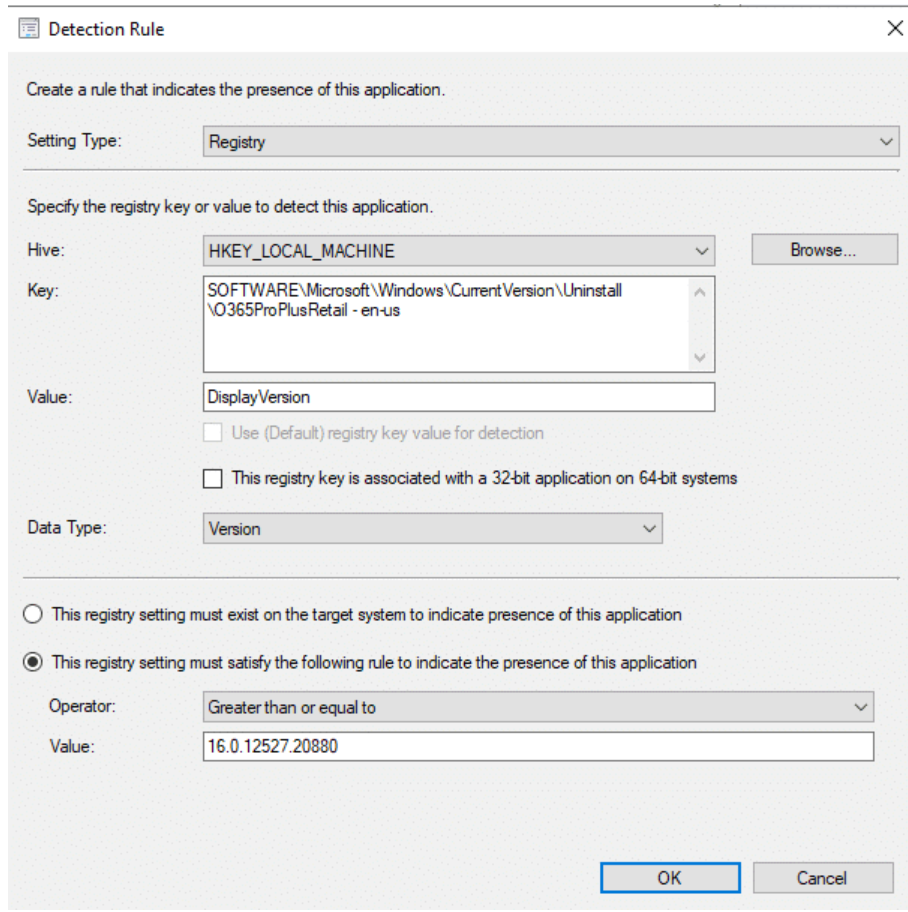
For the detection rule of Microsoft 365 Apps, I choose to use a registry value lookup.
Please modify the lookup to fit your requirements.
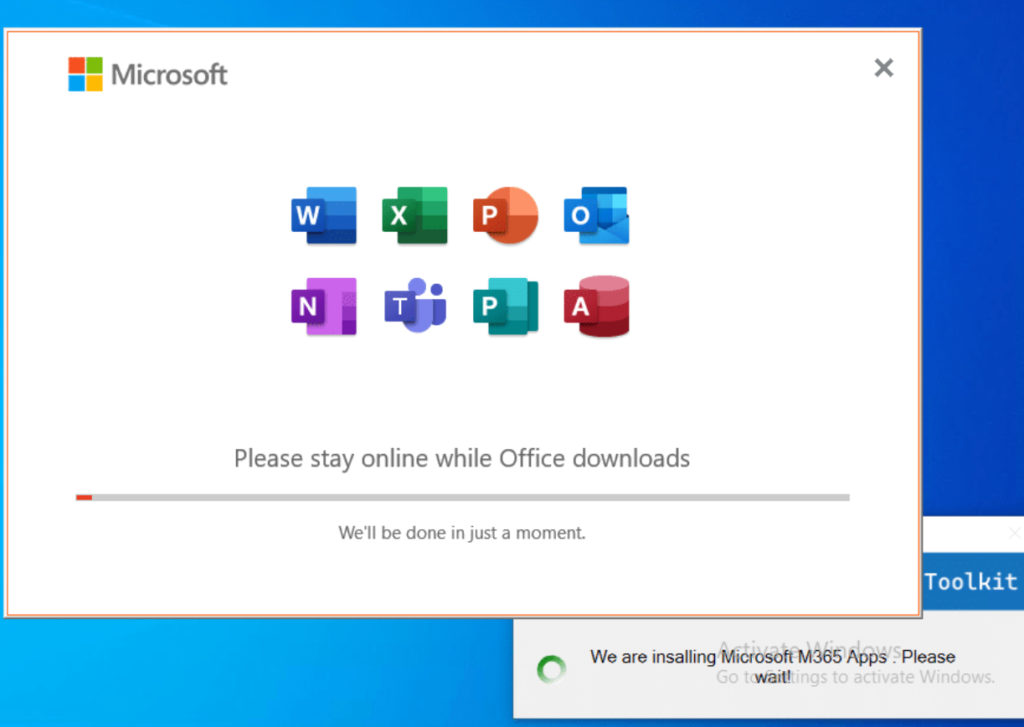
When you install the Microsoft 365 Apps from the Software Center, you will be able to see the Office installation data downloading from the internet via the Office 365 CDN.
Example script files
You are welcome to download my example script files that I used to create this blog article. You will find them located in my GitHub repository at:
https://github.com/sandytsang/DeployM365Apps/releases
Well, that’s it! I hope this post will help you roll out Microsoft 365 Apps to all your #WFH users. Have a beautiful day!